Setup Instructions
Thank you for signing up for PingMyForm! 🎉 To start sending per-form email notifications, follow the setup instructions below. The process is quick and easy—just a few simple steps, and your forms will be sending notifications exactly where they need to go.
Step 1: Create a Webhook
- Open Webflow Site Settings
- Click "Apps & Integrations"
- Scroll down and click "+ Add webhook"
- Choose "Form Submission" as the Trigger Type
- Select "API V2" as the API Version
- Copy & paste this URL as the Webhook URL:
‼️ Tip: No matter how many forms you have, you only need to create one webhook. It will work with all the forms on your site! 🚀
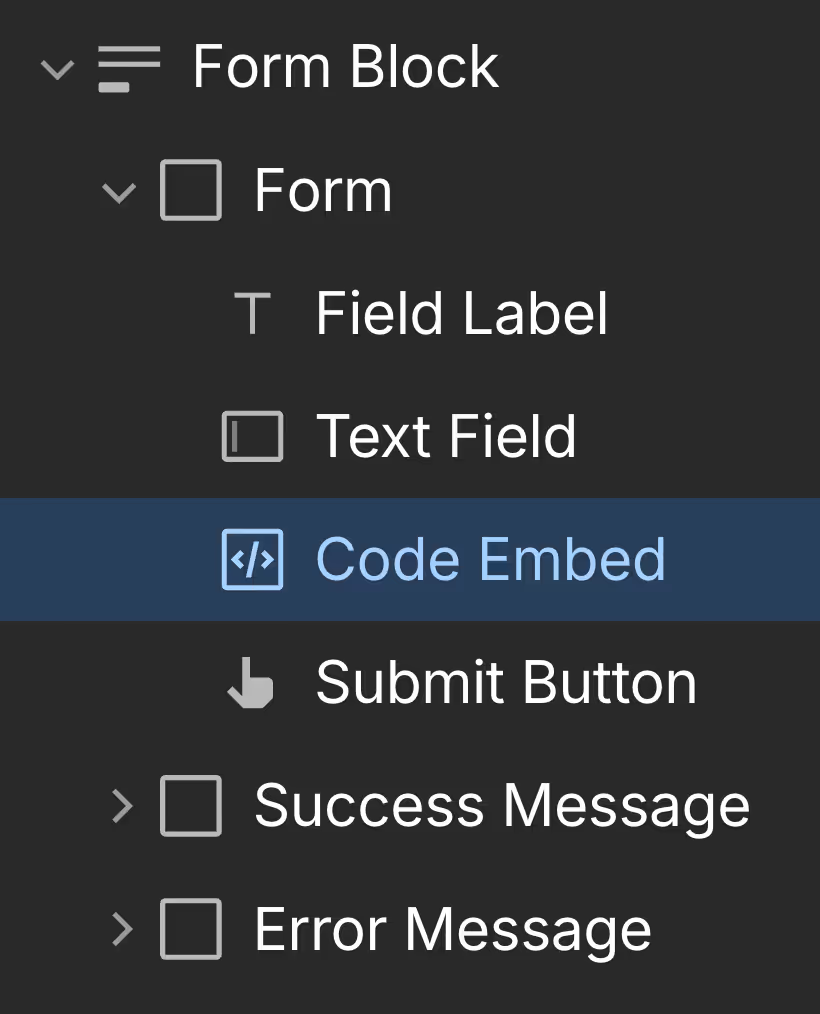
Step 2: Add a Hidden Input


‼️ Tip: Your notifications will work now! The remaining steps are optional.
(Optional) Step 3: Customize the Email Subject
By default, the email subject will be: "New [name_of_your_form] Submission." If you want to override this and set your own subject line:

(Optional) Step 4: Customize the Reply-To Email
If your form includes a field named "Email" or "Email Address," its value will automatically be used as the reply-to email address. If neither field is present, the reply-to email will default to "ping.valname@valtown.email." To override this and set a custom reply-to email:

(Optional) Step 5: Customize the From Name
By default, the email's From Name will be: "Form Submission." If you want to override this and set your own From Name:

All Done!
Repeat steps 2-5 for as many forms as you want. Those form submissions will now go to the emails you specified! 🚀